

My Stella has so.many.hairclips that it is hard to sort through them. Several of them have been worn a hundred times so they are getting ratty. But. She loves them and I can't talk her out of keeping them. All of them. She even wants to keep the teeny baby ones.
So I needed a system to speed up our morning school routine for her hair-doing. I can't bear to sift through the crappy bows in order to find the few that are clean and new. Not to mention she can only wear clips that coordinate with her school uniform.
What's a mom to do?
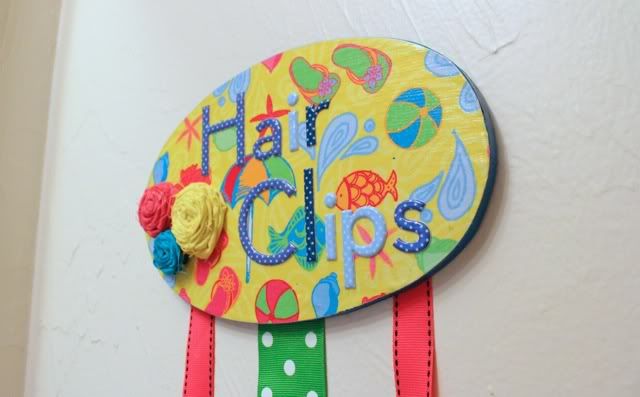
Enter, the Hair Clip Holder!
Here is a mini-tutorial on how I made it:
{Tutorial} Hair Clip Holder
You need:
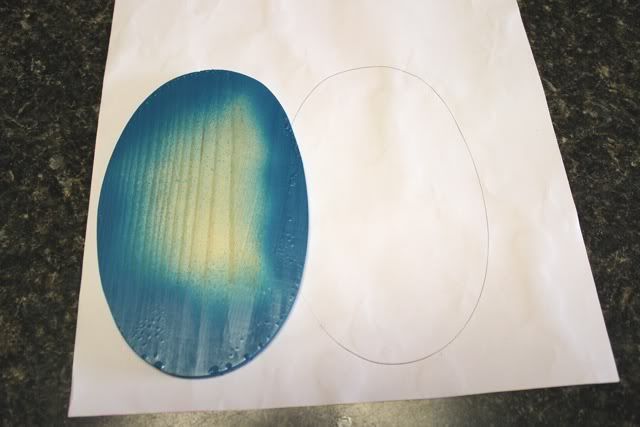
- Wood plaque or something similar (found this at the $1 Store)
- Paint (I used spray)
- Paper
- Mod Podge
- File or sand paper
- Ribbon
- Glue
- Letters and rolled flowers (optional)
- Picture hanger hardware
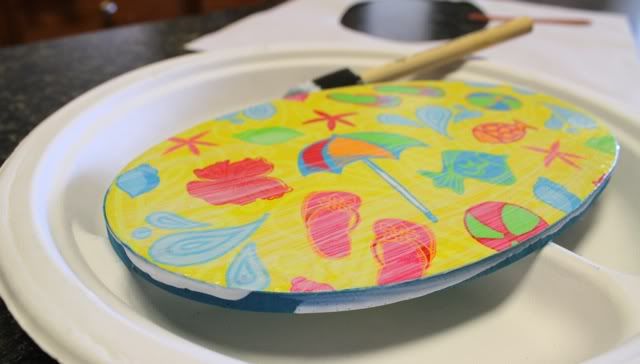
2. Trace the plaque on your paper. This paper was in the 99cent section at Target. Cut out and Mod Podge to your plaque. Dry.
3. Use the file to get the edge of the paper even with the wood. Don't do too much filing or you'll file off your paint.

4. Then follow with two more coats of Mod Podge on the top.
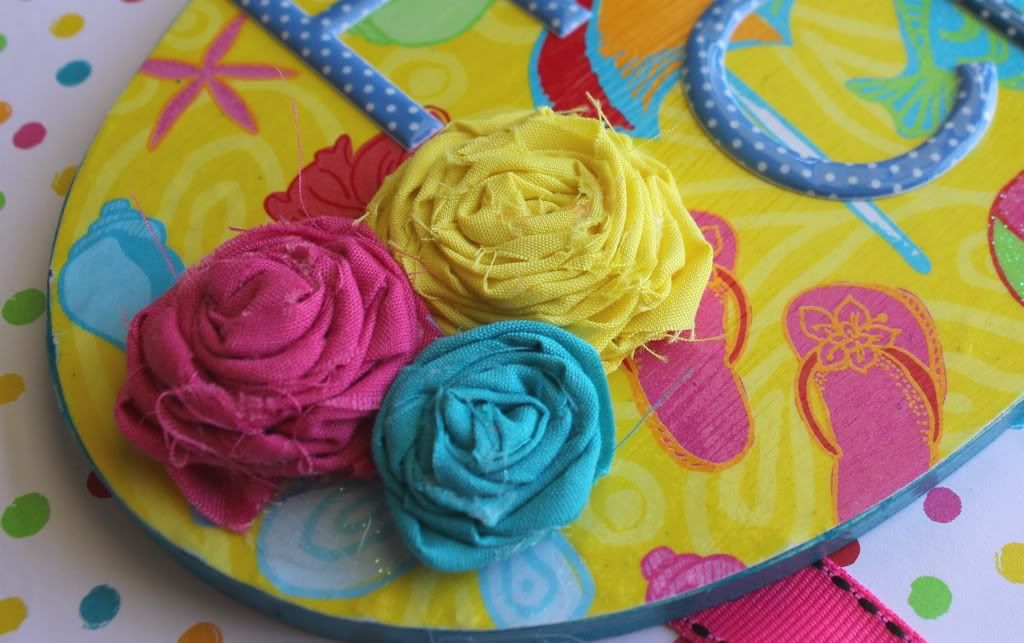
5. While that is drying, make some rolled flowers....or not. Totally optional.
6. Glue on your ribbon. Cut it evenly and heat seal the ends (I used a lighter). Put your letters on. Mine were stickers. Whatever words or initials you like.
{I have seen lots of hair clip holders online and they are personalized- which I decided not to do. I was more concerned with coordinating it with the kids' bathroom. Plus, only having one girl, I didn't feel the need to personalize it.}
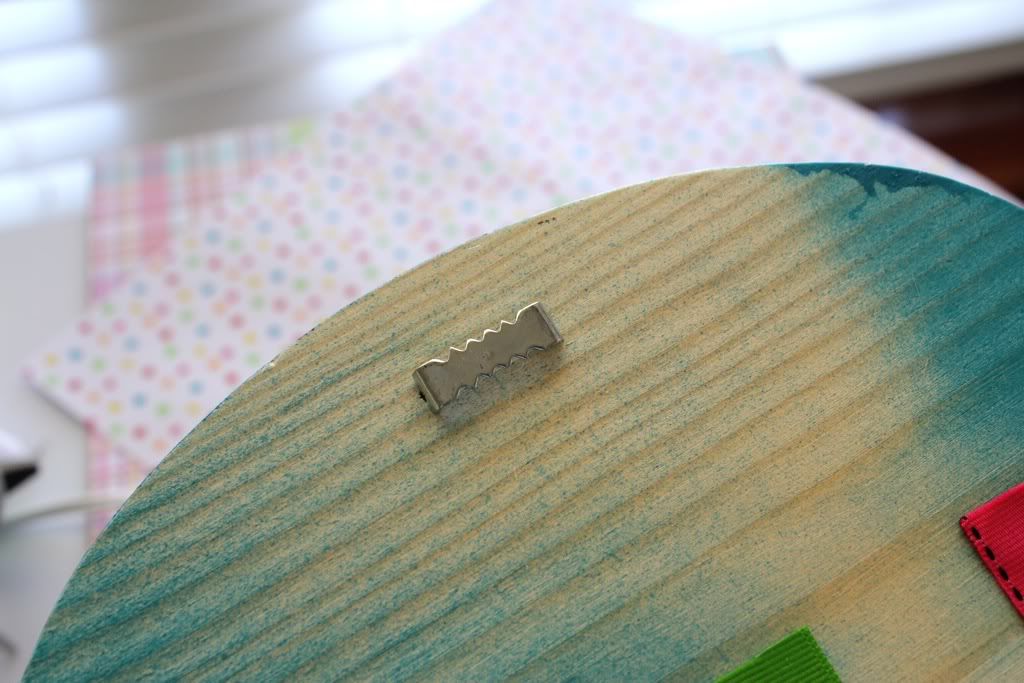
Glue on your flowers. Add the picture hanger on the back.
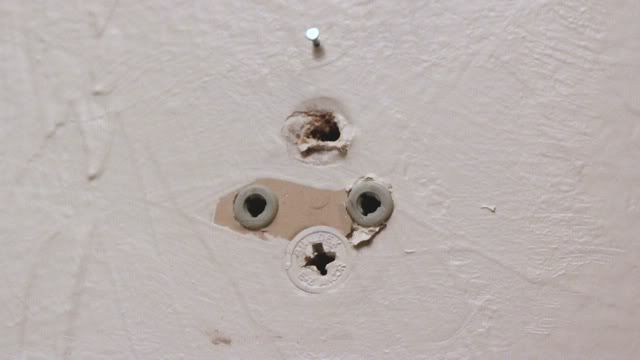
7. Cover up that hole in your bathroom wall from the towel holder that always wiggled and is in the dumbest place ever anyways.
8. Be organized!

This little hair clip holder has been great! Now I don't even have to open the drawer full of messy clips and old bows in the morning- when we are rushed anyway- to get the ones that are nice and new and school-worthy. This is not just helpful for uniform wearing gals either...You might find this hair clip holder useful if you set out your daughter's school clothes the night before, you can set out her bow, too. Just pick a ribbon or spot for the day's or week's bows. Or at least put the newest or nicest ones on the holder.
I am trying, trying, trying to streamline our processes (wow that sounded like part of my old job description) here in the mornings and to get a better routine in the evenings, too. This craft idea might seem trivial, but it has eliminated several minutes of wasted time from digging through the yuck bows, the not-allowed bows, and then getting distracted by all the other hair things in the drawer. There is never a question of where her school clips are. They're right there!


Love this idea! I'm posting it on my FB page today! :)
ReplyDelete