
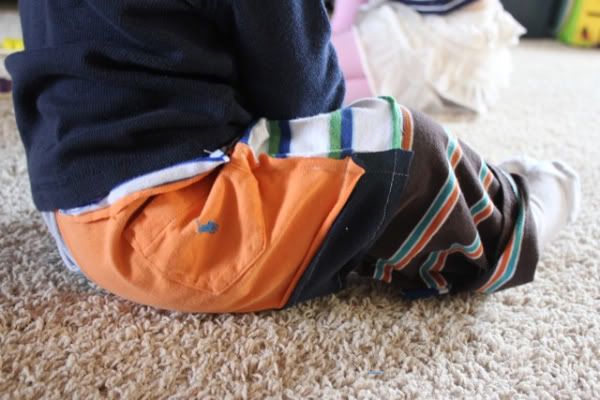
Finally! I give you pictures that I actually sewed #17 on my Craft Bucket List. This was from a tutorial at Kojo Designs blog. I don't know why, but I didn't exactly follow the directions. I kinda started on them by diving in and sewing up pieces of t-shirt without reeeaally reading their directions on how to do this.
They cut their t-shirts in strips, from probably adult sized shirts.
I used baby/kid old shirt and just cut willy-nilly. Ooops.
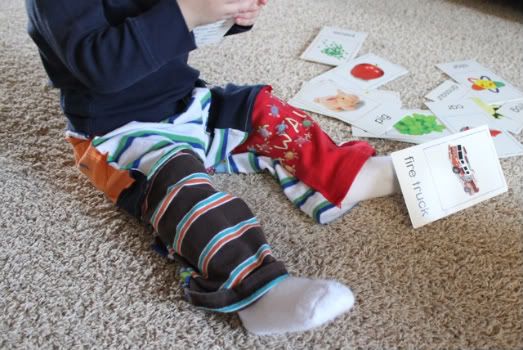
Which is fine- except when trying to piece everything together to get a large enough panel from which to cut my pants it got to be a bit more work than it needed to be. Hence the "oops".
What I did differently (bad and good):
- I messed up making the rectangle by not using nice, even fabric strips. I did the willy-nilly as previously mentioned. {not intentional- got carried away at project start}
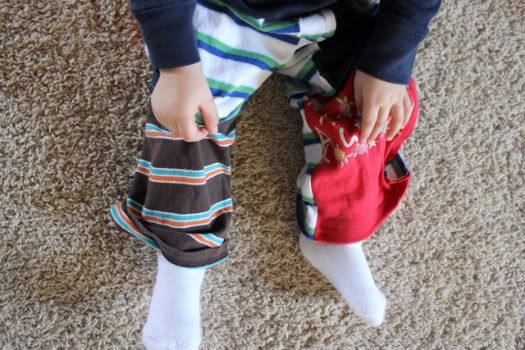
- I overlapped my pattern pieces so that I would have one full piece for the left leg and one full piece for the right leg (vs. two fronts and two backs). {this was because I screwed up already, see above, and I didn't want even more chaos in the pants}
- When I made my patchy panel, I lined up pieces that were the hems of t-shirts. So the bottom edge was all hems. Then I laid out my pattern pieces where I thought the hems would be along that pre-hemmed edge. {this was an intentional idea!}
- I made an elastic waist instead of a drawstring. {had to or my kid would have his drawls around his ankles}
I consider these notes as a "lessons learned". I had to make them work- I had already cut up all the shirts!
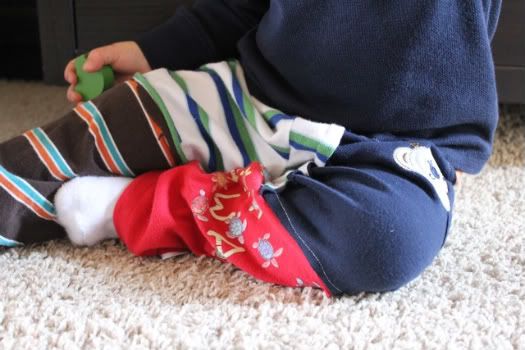
these are great! they look comfy and are so cute.
ReplyDelete