Showing posts with label printable. Show all posts

Tuesday, March 27, 2012

{Printable} Kids Thank You Notes

Well the party is over.  The presents are being played with.  Cake is looong gone.  Now we "write" thank you cards.

I wasn't sure how many of the blanks my daughter would fill in but she actually enjoyed writing her letters and hand wrote all of them!  We broke it up over three days tackling a few at a each time.  I wanted to mail them out by two weeks after her party. (Isn't that the etiquette?)

So cute!  It says:  Dear (blank)  Thank you for the (blank).  I love it because (blank). From (blank).

I just helped her spell the words that she wanted to put in the blanks.
Her "blanks" were pretty cute.

Click these images for your own printable KIDS THANK YOU CARDS:

I made one with boyish colors for you, too!

                                                                                      
Pin It

If you have trouble downloading these let me know.

Linking here:

Wednesday, January 25, 2012

{Printable} Owl Valentines


Happy Early Valentine's Day!

This is my free Owl Printable for 2012. A bit updated from last year. Printed. Updated colors. Fixed the wording. Made more room for a child's large signature or a signature label. Tweaked the size, text spacing and a couple other things.

Download image by: drag and drop to desktop OR right-click and save as... 


Want last year's?  Here are a few more for this year.
Did you like it? Please,
Pin It

Linked up:
Somewhat SimplePhotobucketA Crafty Soiree Transformation ThursdayThriftyThurs Thrifty Thursday Week 34
Chic on a Shoestring DecoratingLovely Crafty HomeThe Shabby NestPhotobucketTodays Creative BlogTip Junkie handmade projects

Friday, January 13, 2012

Happy Friday and a Free February Calendar

So on Monday I told you all about My Memories Digital Scrapbooking software.  OH, and how you can enter to win a free copy of that software, too!

But I showed you how not only can it be a great (and easy) way to design your own photo books and scrapbooks, build slideshows with voice and music overlays, and create digital paper crafts (remember the birthday card I made?)...

Well...

You can also make calendars!  SO EASY!  You just choose a (free) calendar template.  Drag and drop it.  Select the month and year, and it autofills the dates!  Customize fonts, headings, etc, etc, etc.

So hereyago!  I February calendar that I seriously whipped up in about a minute.  Now wait, can you imagine how long this would take in Photoshop??  (I love you Photoshop, but I am right about this one.)  Take it.  Print it.  Use it.
Click on image.  Drag the large image to your desktop.  Or save as .jpg file.

If you haven't entered my giveaway, maybe you're thinking about it now!
...One last reminder..Giveaway ends 10am on Sunday (Jan. 15th)...
Happy Friday!! 

Thursday, January 12, 2012

Free Valentine's Day Printables

IMG_3836
This is last year's version.  The 2012 version says "Owl be your Valentine!" and in 3 colors!
Whenever I am on Pinterest, or reading blogs, or checking out craft linky parties I think to myself, "Goodness there are a LOT of Valentine's Day crafts out there but it's only January!"  As if everyone is just glossing over January and jumping right to Valentine's Day.

Then I realized- I am always *scrambling* at the last minute for all of the holidays and maybe, just maybe, a little advance planning is a smart thing to do.  So how much time do I need?  A month!  Then I think, "Oh, so those people out there are smart and know what they are doing by posting all the Valentine's Day stuff!!"  Noted.

Monday, September 26, 2011

{Tutorial} Stemmed Fabric Lotus Flowers


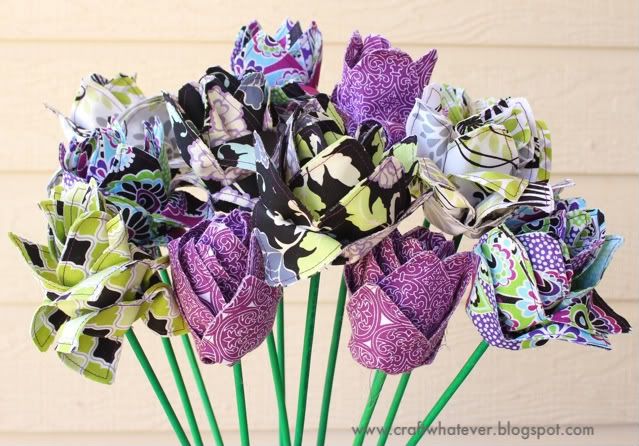
On Friday, I showcased my bouquet of handmade fabric lotus flowers. I explained why I made them- for my dear friend. She just opened up her own yoga studio and when I saw a picture of the sign that is hanging outside of her new digs I was inspired (to say the least)!!

I was inspired to create these.  Because I didn't know how to send real lotus flowers!

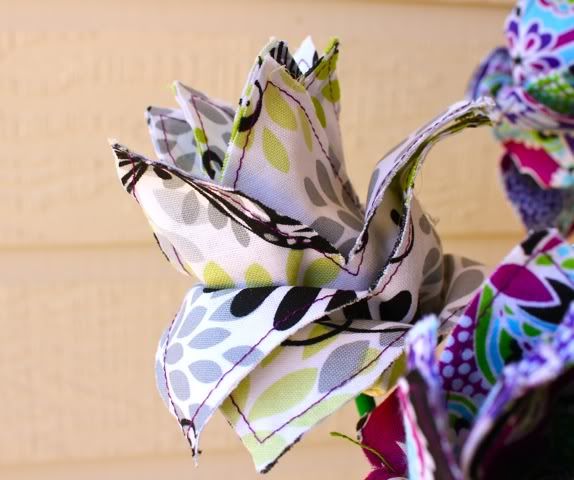
Of course, I combed the internet looking for a lotus flower tutorial...and maybe I don't know how to work the internet, but I couldn't find what I was looking for. I found lots of origami ideas, but I didn't want to use paper. I am a fabric girl. So, after making a few iterations of my idea, I opted for the version that was fast-enough that I would actually finish the project but pretty enough that it still takes some time to create a whole dozen.


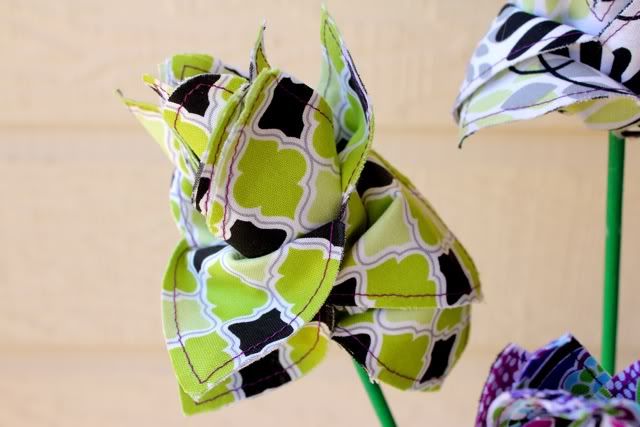
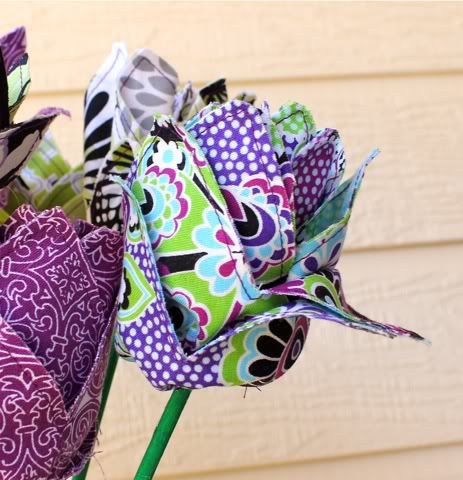
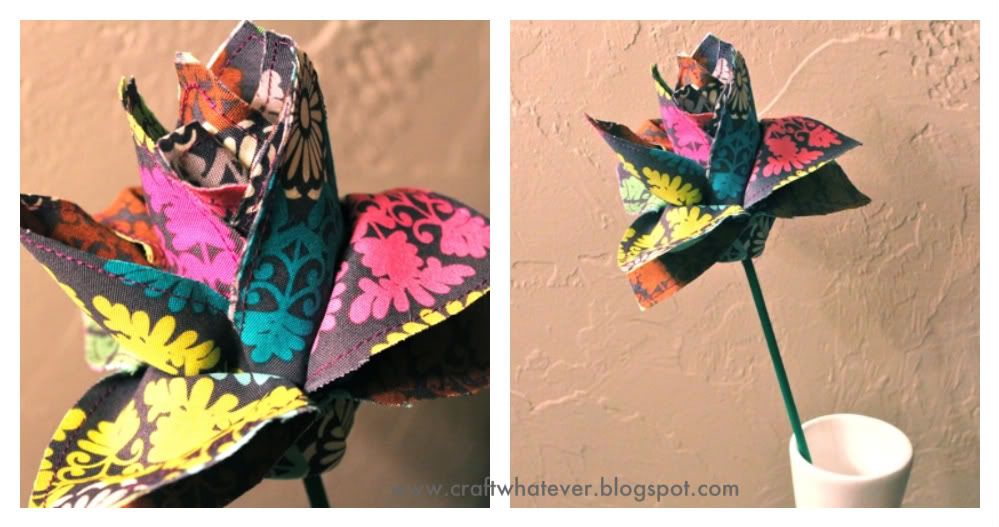
I wanted them to look like lotus flowers.


They also sort of look like tulips.


Either way, I think they are just beautiful!


This is a SUPER gift to make for someone- a handmade bouquet of flowers!


How to make a stemmed flower to give or keep:

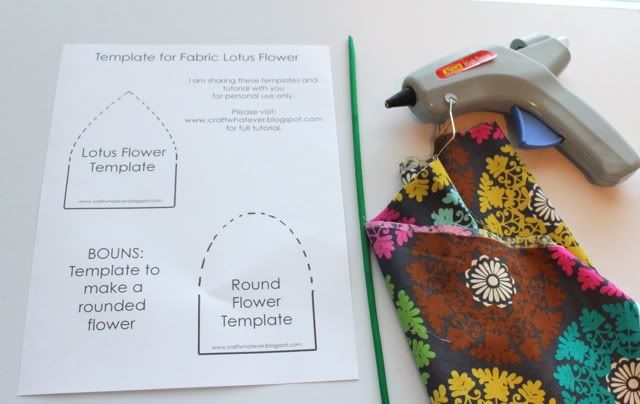
Supplies Needed for One Flower:
Strip of fabric, 8" x width(44")
Template (link at bottom of post)
Stem or stick (I found these green sticks in floral dept of craft store)
Hot Glue
Contrasting thread, scissors, chalk or fabric pen

1. Press 8" strip in half, wrong sides together. Lay out the fabric so the fold is the "bottom" and the raw edges are the "top".  And PRINT out this template:

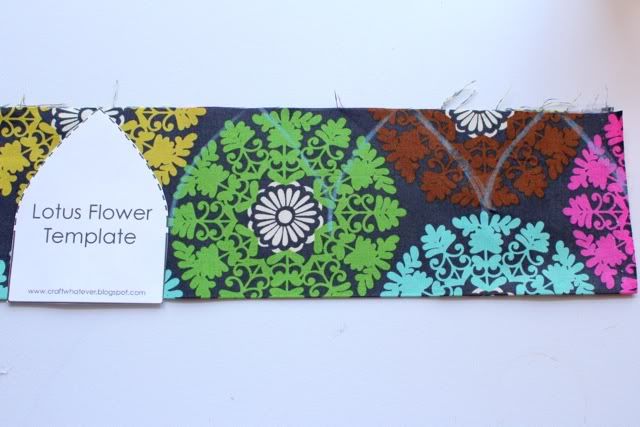
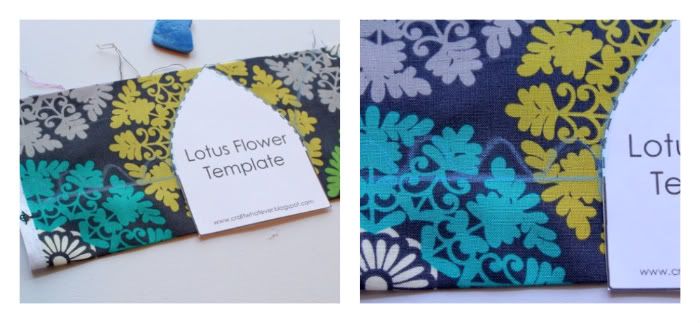
2. Trace template on fabric. Place template at one end and start tracing the petals. The base of the petal is along the fold and the point of the petal is at the raw edges.  Trace along the dotted line of the template.

Keep tracing the petals until you reach the other end. There are no spaces between the petals.

When you only have room for one more petal and then some inches left, chalk a rectangle "tail" from the last petal to the edge of the fabric.  I drew a line then some wavies.
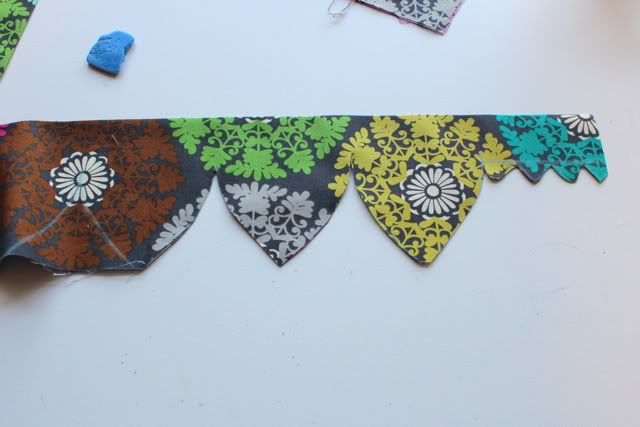
3. Cut out.  And please, cut off the white selvage. I think it is easier to cut from this side.


This reminded me that I need my scissors sharpened.  Last month I ran/cut over a pin!
TIP:  If you are making more than one flower, you can place a blank strip of fabric under the one you marked and cut them both out at the same time.

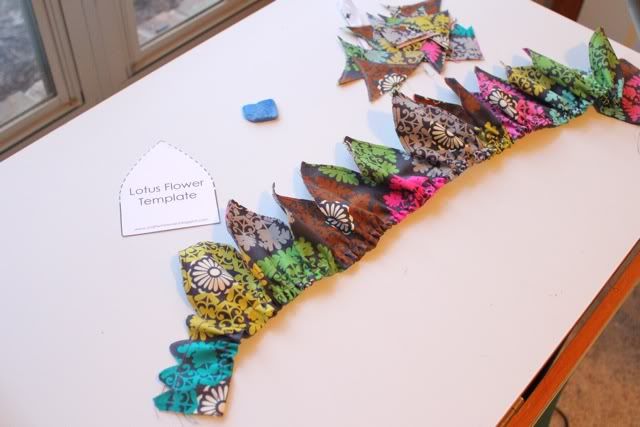
4. Sew together along the raw edge of the petals. I used a contrasting thread color.

5. Sew a gathering stitch along the bottom (folded side).

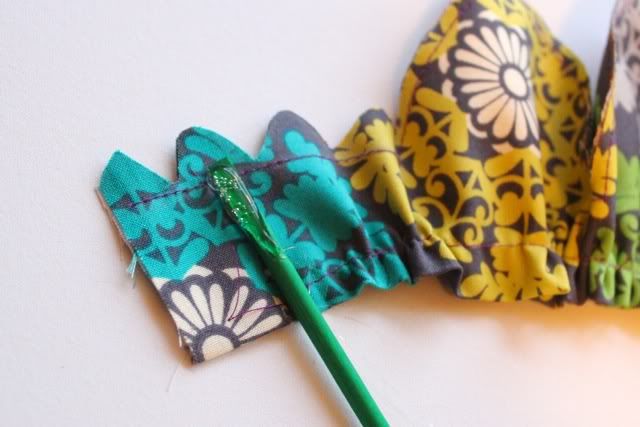
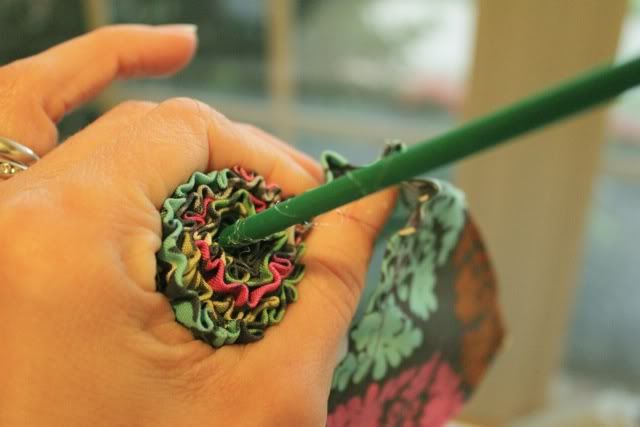
6. Start gluing the fabric to the stick. Start with the short tail part. Roll and glue about every half inch or so.  I use a lot of glue.

When it is almost finished, I pinched the base in a tiny bit as the glue cooled off.

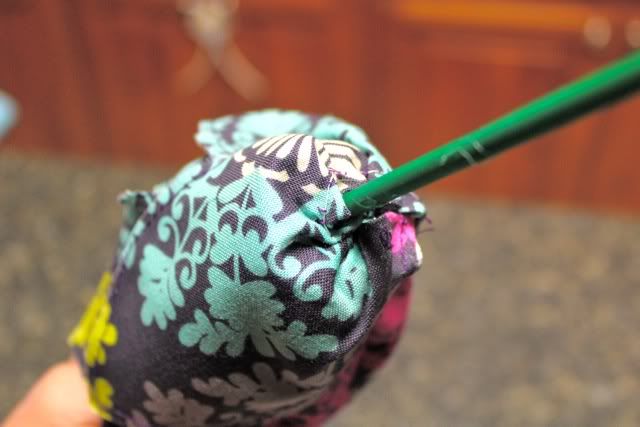
When there is a short tail remaining, use this tail to cover the messy flower bottom.


Just roll/glue until it is neat.  After this dried, I went back and did a second round of gluing to fix anything that was sticking out. It might feel wobbly now, but it will stiffen up after it is completely dry.
TIP: I do a practice roll first, before gluing, to make sure the fabric is gathered enough/not too much and my flower will look the way I want it.

And this is what I get when I wait until Sunday night to make these...dark pictures.  Sorry.

Just look at the nice sunny ones I made a couple weeks ago instead!


Linking Here:
NightOwlCraftingSomewhat SimplePhotobucketA Crafty Soiree Transformation ThursdayThriftyThurs Thrifty Thursday Week 3436th AvenueCatch a Glimpse Button Chic on a Shoestring Decorating Lovely Crafty HomeThe Shabby NestFantabulous Friday!

Share this

LinkWithin

Related Posts Plugin for WordPress, Blogger...