Showing posts with label Kids Crafts. Show all posts

Tuesday, March 27, 2012

{Printable} Kids Thank You Notes

Well the party is over.  The presents are being played with.  Cake is looong gone.  Now we "write" thank you cards.

I wasn't sure how many of the blanks my daughter would fill in but she actually enjoyed writing her letters and hand wrote all of them!  We broke it up over three days tackling a few at a each time.  I wanted to mail them out by two weeks after her party. (Isn't that the etiquette?)

So cute!  It says:  Dear (blank)  Thank you for the (blank).  I love it because (blank). From (blank).

I just helped her spell the words that she wanted to put in the blanks.
Her "blanks" were pretty cute.

Click these images for your own printable KIDS THANK YOU CARDS:

I made one with boyish colors for you, too!

                                                                                      
Pin It

If you have trouble downloading these let me know.

Linking here:

Wednesday, March 7, 2012

Party Favors: A Crafty Treat Bag

I thought I would do one last post about Stella's 5th birthday.  'Cuz these little party favors were pretty neat!

Each partygoer got a treat bag that had a pack of fruit chews, some M&M cookies and a blank canvas & bag of craft supplies.

I bought the 4x4 canvases from Michael's in a 9-pack with my 40% coupon (twice!  I needed two packs).  That made each canvas about $1.33 each.  Then the craft supplies, well, it was part Wal-Mart craft aisle and part Kate's de-stash!  

There were sequins, beads, feathers, papers, ribbons, gems, buttons, felt, and a glue stick.

I printed a little note for each bag.


I thought this party favor was quite representative of Stella, my crafter.  And then by giving the kids the canvases, I thought they might have a chance of staying out of the garbage can at least a little longer than the typical party favor.  

Pin It
Linking Up Here:

Tuesday, December 6, 2011

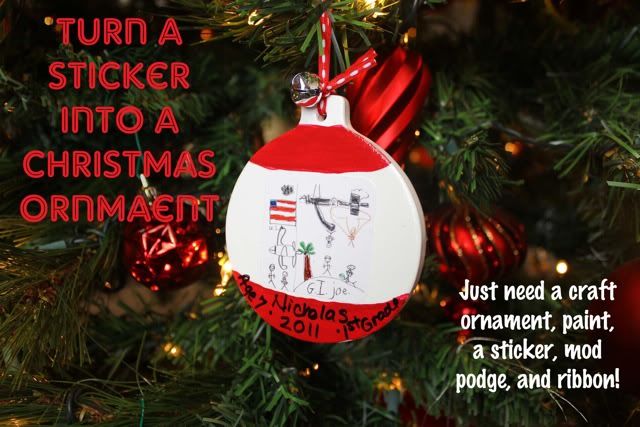
Simple Ornament to Keep Forever (and I used a Squicker Sticker)

I don' t know about you, but I have 5 pages of "Squickers" stickers laying around.  Some stickers are from three years ago!  I thought they were cute but I just didn't know what to do with them.  Until now...

Does your child's school do the Squickers fundraiser?  Ours does.  But here is my confession:  I just keep the free sheets of stickers and don't order their products.  I know.  I shouldn't have said that out loud.  But it's true.  

And honestly (another confession), I have never been too impressed with my kids' artwork to order anything with their picture on it either.  

BUT this year...my kids were super-duper creative and artsy and made some funny creative artwork!

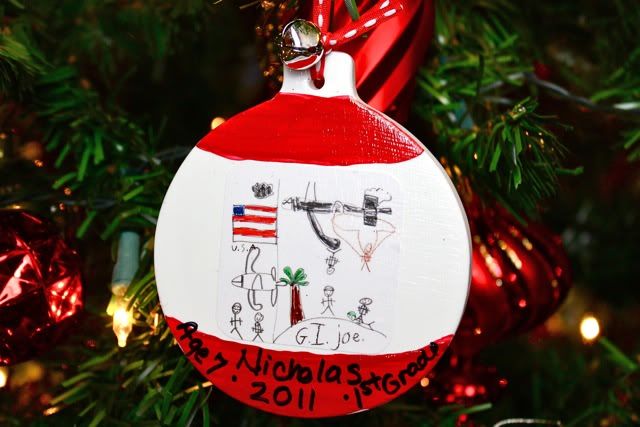
I had the light bulb idea this year:  Stick the squicker sticker on an ornament to cherish (and laugh at when they are older, of course) forever.  

I mean, who doesn't want a GI Joe ornament on their Christmas Tree?!?!

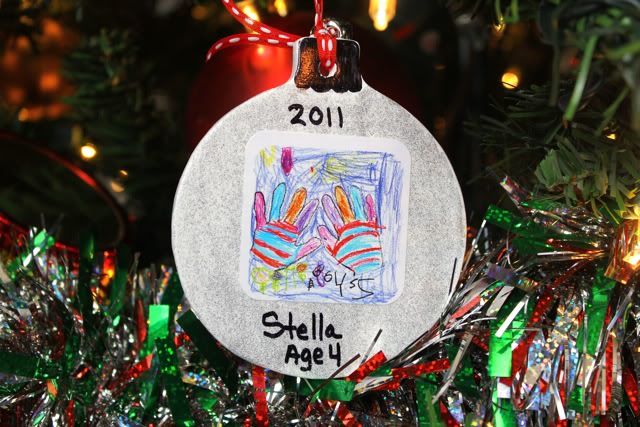
I found these unfinished ornaments at Hobby Lobby for $1 (which I scored at 50% off, so 50cents), painted them and then mod podged the squicker on the ornament. Added a little ribbon and viola!  Memories that last.

It does appear that Stella tried to write some sort of word, but she couldn't remember what it was.  Very colorful nonetheless.  

Oooh, these would be cute gifts!  Yes?

Linking here:

Thursday, September 1, 2011

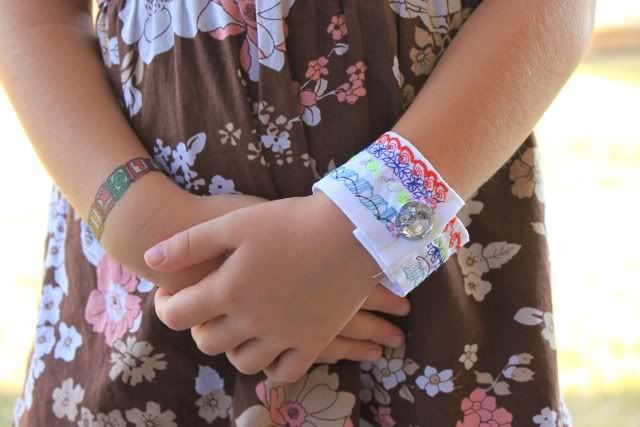
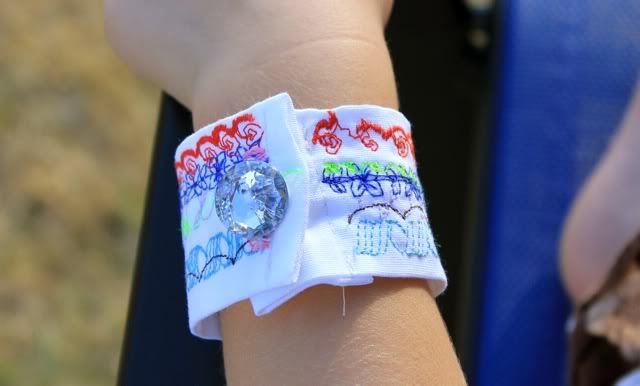
{Tutorial: Kid Craft} STELLA CUFF BRACELET (made by a 4yr old!)


I think I might have created a monster.

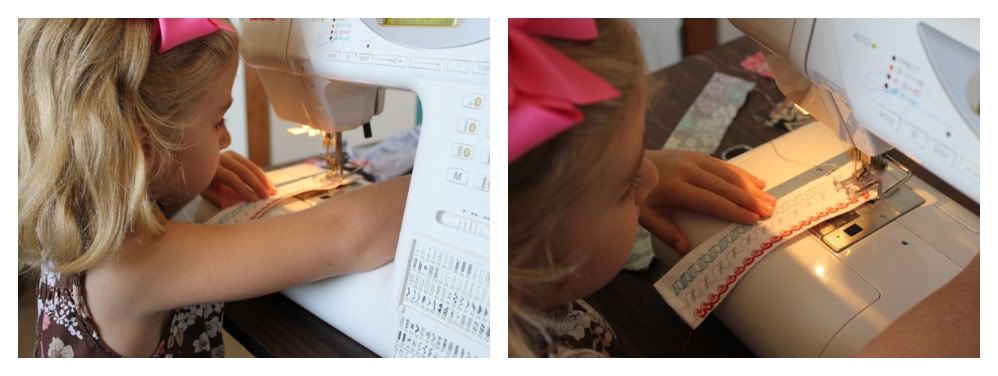
My daughter, who is four, loves. to. sew.  And she especially likes to sew with my machine.  I finally gave in and let her try.  I had to prop up the pedal on a box of copy paper with a book and sticky shelf liner just so she could reach it.  I also put the speed down to the very slowest that the machine would go.

She was just begging to sew. How could I refuse?!  So I made up this little craft that turned out to be a great idea!  I think these little cuff bracelets would also make cute gifts.  I could also make, say a coaster or key fob, and let her decorate it with different stitches.  Easy gift ideas that aunties would love...just sayin!

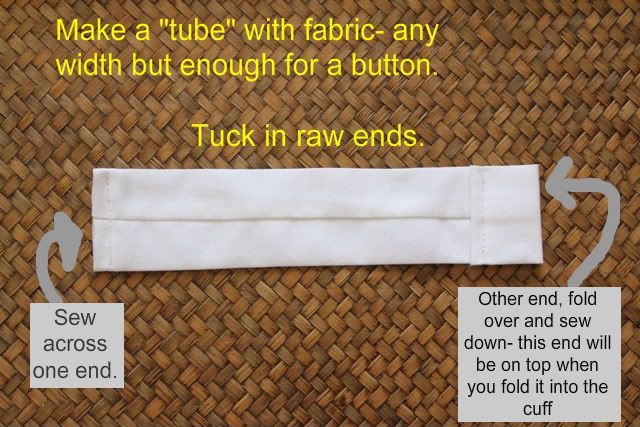
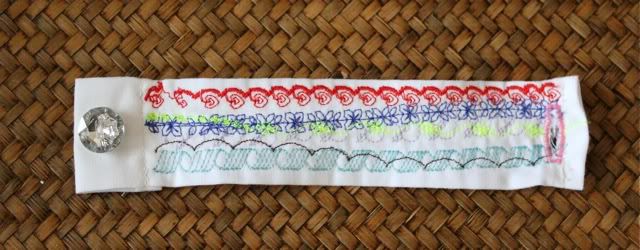
All I did was sew up (super quickly) a rectangle of fabric.  Then I turned her loose on my machine.  She was mainly interested in the different kinds of stitches, so I showed her how to type in the numbers.

I was really nervous about letting a four year old use my machine, but she surprised me!  She really tried to make something nice.  And because she enjoyed using the big grown-up machine, she was a very, very good listener about it.  

I learned to give my kids a chance.  They are capable of surprising me- in a good way.

:::::HOW TO MAKE THE STELLA CUFF BRACELET:::::

Step 1.

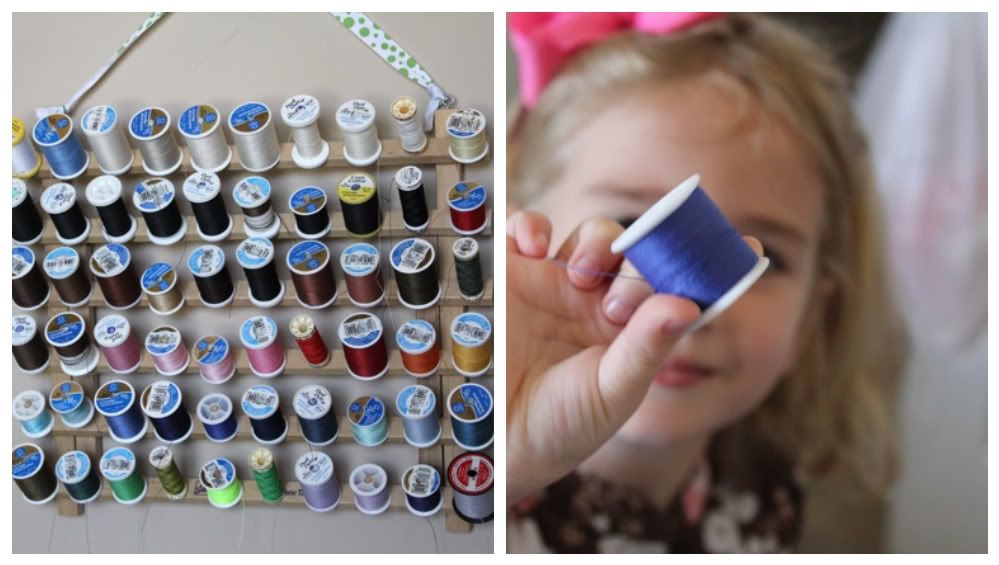
Step 2.  Choose a colored thread.  Also a GREAT way to use up some of those funky colors you bought a long time ago.


Step 3.  Sew away.  Change thread colors.  Change stitches.  Let her go.  Whatever she wants.

Step 4.  Add a button/button hole.  She helped hand stitch the button.  
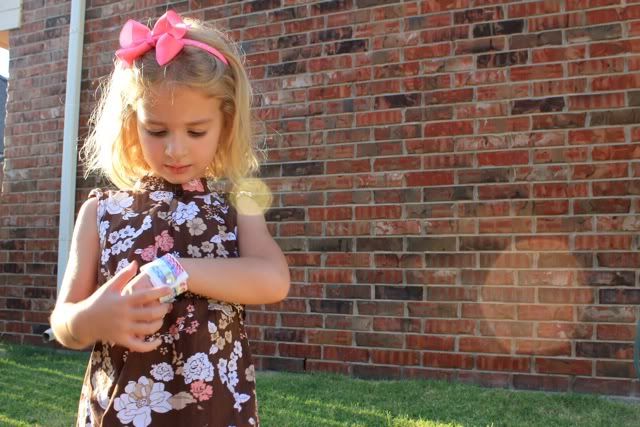
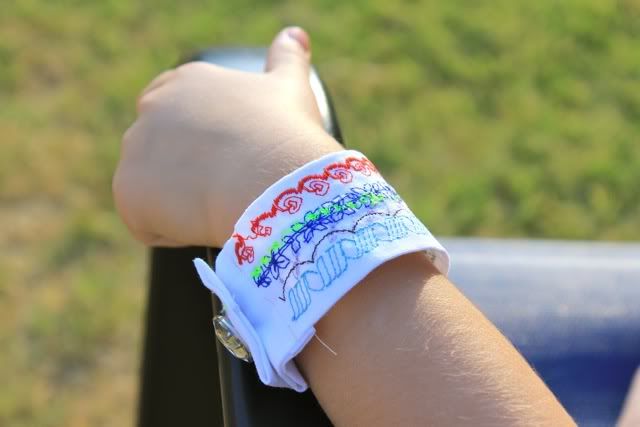
Yes, it is a little crooked, but it looks perfect!!!!  All sewn by her four-yr old self!!  
Step 5.  Admire...  I know you are so proud because you made it!!


And now, I hear everyday on the way home from school, "Mommy can I sew when I get home?"  Every day.


As seen on CraftGossip.com


Linking here:
Somewhat SimplePhotobucketA Crafty SoireeThriftyThurs Thrifty Thursday Week 3436th AvenueTransformation Thursday

Wednesday, July 20, 2011

My kids were actually begging me for crafts this week. They caught me off guard and I had nothin.

Usually, I am begging them do do a craft. Seriously. And at that point, I am just talking about cutting up some scraps of paper or fabric or whatever and glueing it to something- more paper, more fabric, or whatever. So simple. Just something that they can do to channel their tired energy into their eyes and hands and brains. But of course when they said, "Can we do a craft?" I immediately said "Suuuure". I was trying to come up with something before I finished the word!

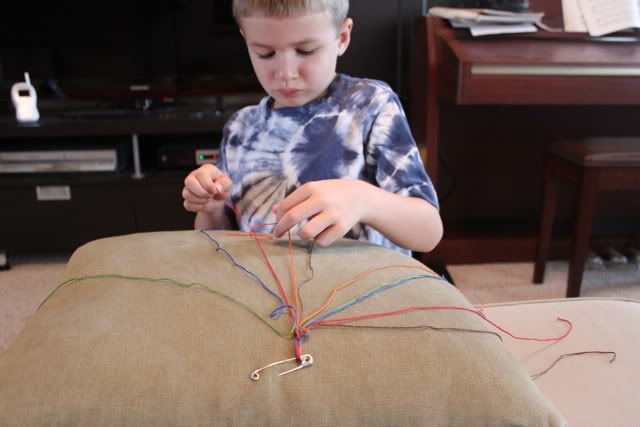
I said who wants to make friendship bracelets?! I got one taker. Nicholas, my oldest. He is 6.

I have been seeing these bracelets on blogs, so I suppose they are making a comeback, but I haven't seen any one wearing them around here. (Maybe I don't mingle with the right people.) But still, I grabbed what few colors of embroidery floss I had and started hyping up this friendship bracelet craft to my son.
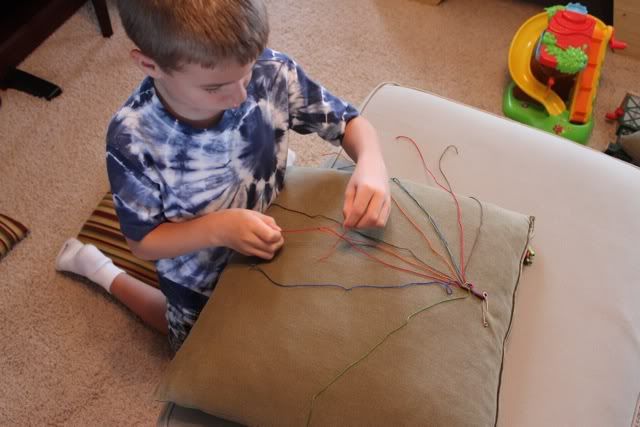
He really was excited. I even did the first row to get him started. (I remember that was the trickiest part.) It all came back to me. knotting. keeping the colors organized. we used to pin them to our jeans to make them...I opted for a pillow.
Good thing. Because he got this far.
It will probably stay like this for the rest of the summer...unless I pick it up and get addicted to the mindless knotting...quite therapeutic, too.

I found this tutorial for making them...which I don't need, because I already know/remember how to make them from a zillion years ago! OK. Except that fancy one with the pink diamonds I have no clue how to make that one.

Source:  Cut Out and Keep


***OH, and I did finish the curtains.  Can't wait to show you.  I started measuring for the new slipcover for the ottoman, too.  It is a lot of fabric to spread out and cut so I am waiting for a non t-ball night or weekend...

Sunday, April 3, 2011

My Front Door is My Fridge

Since I am super lame-o and do not know how to make a wreath (or anything cutesie to put on my front door) I have this.
IMG_4402
Yes. I put the fate of my front door decor in my children's hands. Am I crazy or lazy! Ha!

It all started in February...
I bought a pack of heart-shaped foam hearts for my kids to craft with. Then I drew a blank on what do DO with them. Uh..and...nothin.

I taught them how to use "real" glitter (opposed to glitter glue which they lu-huv!) Then I just had a stack of glittered foam shapes and still no ideas.
Photobucket

Then I came up with this:

Photobucket

So now we have this:

Photobucket
Now, all the world (or maybe just the neighborhood) can see some "fridge-worthy" crafts that my kids made. I realize this is not for everyone, but I like it. I get to show off my kids' artwork in another place- in addition to their art gallery on my fridge!

Do you need to know how I made them? Seriously? Decorate the foam shapes. Glue ribbon to the backs.
Photobucket

When they are dry, attach ribbon to the top of your door with a flat thumbtack. Genius, I know.

Happy Spring!

Share this

LinkWithin

Related Posts Plugin for WordPress, Blogger...